Valentine’s Day tutorial: Hearts on a string

Hey guys and gals! Today I’m posting a tutorial I originally did for Valentine’s day, but never got around posting it on time cause I was busy with schoolwork… better late than never, eh?

It was inspired by the gigantic heart-shaped lolipops that are sold everywhere around V-day, though my boyfriend (who has Frisian roots) thought hat I had based it on the Frisian flag… ah, romance and patriotism! (Btw, no disrespect, but isn’t that the cutest flag ever?)

Here are the items I used for this design:

– base (OPI) and top coat (Seche Vite)

– white polish (Seventeen)

– sparkly dark blue (547 Blue Monday by GOSH)

– bright red (12 deman by Essence from the Let’s Go Girls collection)

– white nail art striper (Inglot)

– a toothpick

– a large and a medium dotting tool

Once your base coat has dried, apply the dark blue to your nails:

With the white nail art striper, draw a single vertical line on each nail, slightly off-center.

Dab a bit of the white nailpolish on a piece of scrap paper/plasitc. Pick up a bit of color with the dotting tool and create three pairs of dots, close to (but not touching) the line.

Wait 20-40 seconds for the nailpolish to become tacky, then using the toothpick drag the nailpolish from the centers of the dots towards the line, so that they meet at a point below the dots, forming a heart.

Next, take the red nailpolish and dab a bit onto the scrap paper. With the smaller dotting tool, place dots in the midle of the white circles and adjust the shape accordingly, until the red covers the white and forms a neat heart shape. Repeat this on all of your fingers.

Finally, apply a top coat to seal and protect your design. Time to get all romantic! (Or if you’re Frisian–patriotic ;)) XOXO

Springtime nail design: Blossoming Sakura

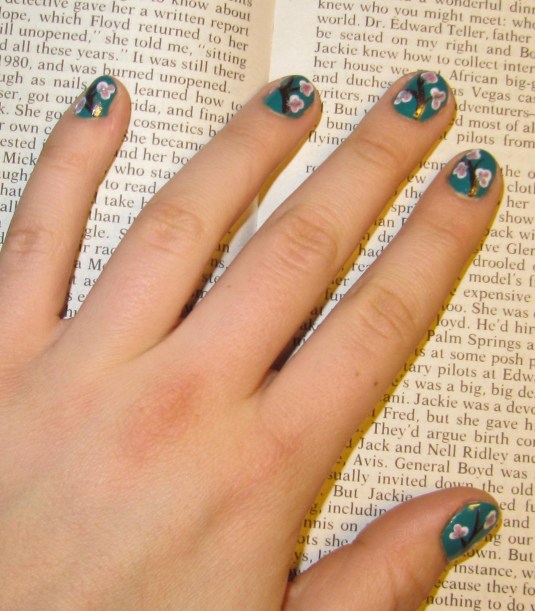
I know it’s still February but I am sooo ready for Spring! One of the first fruit trees to blossom is the winter cherry or sakura tree. In some parts of the world, it begins to blossom as early as January!

I don’t know what it is about this design, but whoever sees it usually recognizes it as distinctly Japanese-inspired. Why is that? Probably the deep-blue background versus the leafless branches with pink blossoms…

Here are the items I used for it:

– base (OPI) and top coat (Seche Vite)

– deep blue-green color (Green Grass by Essence, from the I love Berlin collection)

– Rosepetal-pink (by H&M)

– White (by Seventeen)

– Brown and chamagne-glitter nail art stripers

– a large and small dotting tool

– a toothpick

Begin by applying a base to your nails. Once that is dry, apply the base (deep blue-green) color:

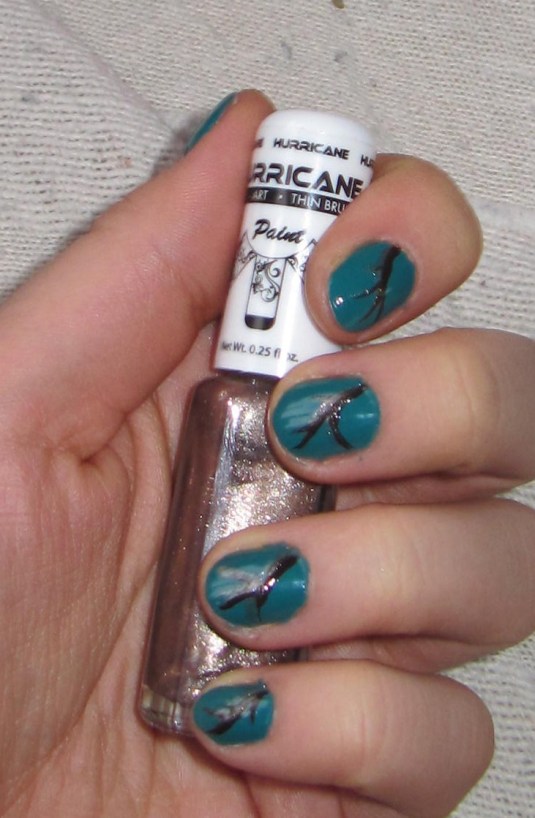
Using the brown nail art striper, draw a branch on each nail. Don’t be afraid to get creative and random! 🙂

To emphasize the branches a bit, go over one side of the branch with the champagne glitter striper (you can also use silver or gold glitter if you don’t have this color.)

Next, prepare a scrap sheet of paper, your white polish, a large dotting tool, and a toothpick.

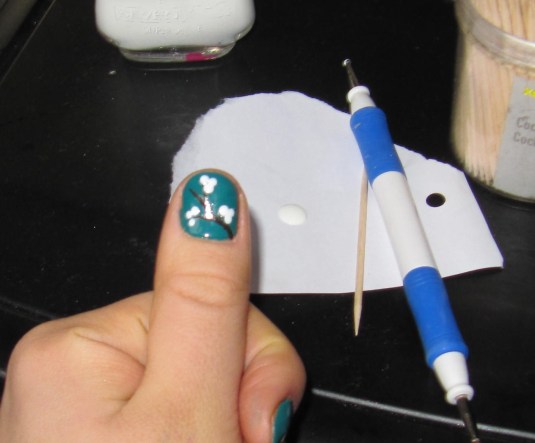
Dab a bit of the white polish onto the sheet, and using the large dotting tool, create several 3-dot clusters along the branches.

Wait 20-40 seconds for the nailpolish to become tacky, then using a toothpick drag the dots from each cluster into a point on the branch. This will turn the clusters into beautiful sakura blossoms 🙂

Repeat on the rest of your nails.

Next, take the pink nailpolish and with a small dotting tool and a toothpick create smaller flower clusters inside the white ones.

As a finishing touch, dab a bit of the champagne-colored glitter polish at the center of each flower.

Make sure to wait until the nailpolish is completely dry before applying a top coat. It will add a nice glossy shine and bring your whole design together (not to mention protect it from chipping for longer ;)) Enjoy your beautiful Sakura nail design! 🙂 XOXO


Pretty in Plaid

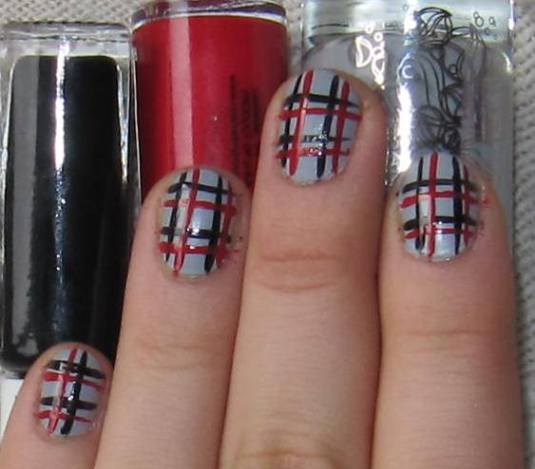
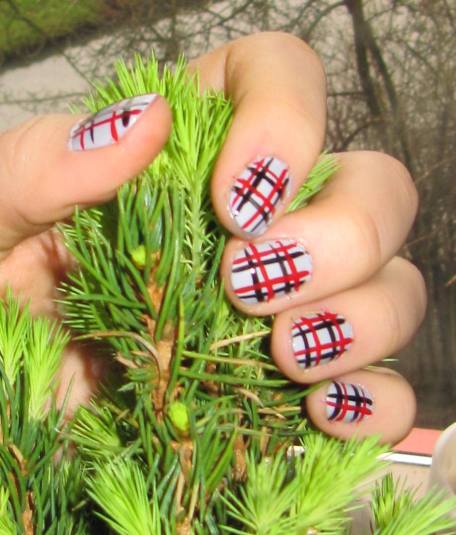
This is probably one of my new favorite designs. It’s quite easy to make, but looks neat and sophisticated.

Here are the polishes that I used:

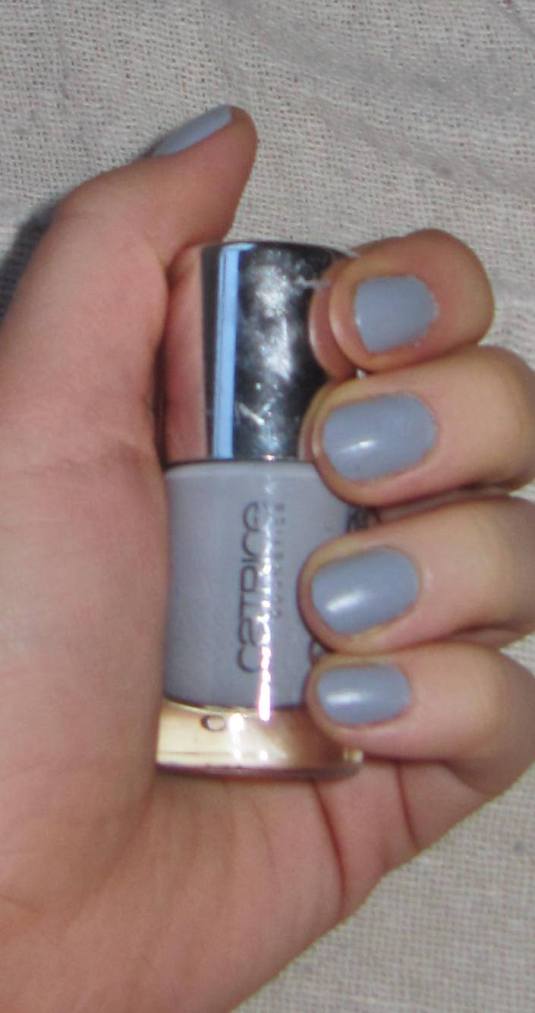
Base and top coat, light grey polish, red and black nail art stripers.

Once the base coat is dry, apply the light grey color until it is opaque.

With the black nail striper, draw two vertical and two horizontal lines on each nail. Try to make them perfectly perpendicular to each other.

Now try to draw a second “box”, slightly to the right and above the first one, with the red nail art striper.

Now just wait until the design completely dries, then apply a top coat and you’re done!

The top coat will give your nails a fabulous shine and will protect the design against chipping. If you’d like your design to last up to a week, re-apply a layer of top coat every other day. XOXO

P.S. When I wore this design, I got so many compliments on my nails! The very straight lines make the design look very neat and put-together; as a result people will think you spent ages on every detail in the design 😉

Fireworks!

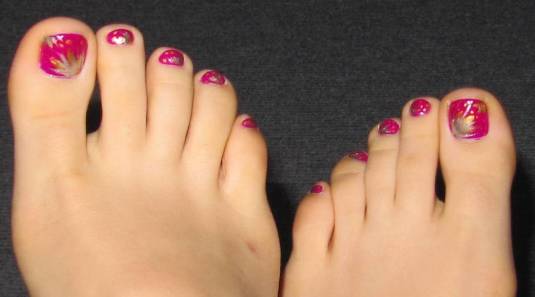
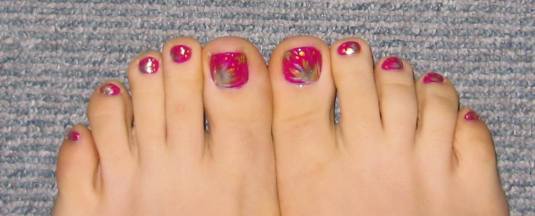
Well, kinda fireworks… they were actually meant to be lilies…

Hi guys! So this was actually meant to be a tutorial, but the lighting was horrible when i was taking the how-to pics, and they turned out dark and blurry… so just the pics of the finished product this time!

But if you would like to try this, the technique is similar to the one I used in the Longwood Gardens design. If you’d like me to do a complete tutorial, just leave a request in the comments section 😉 XOXO

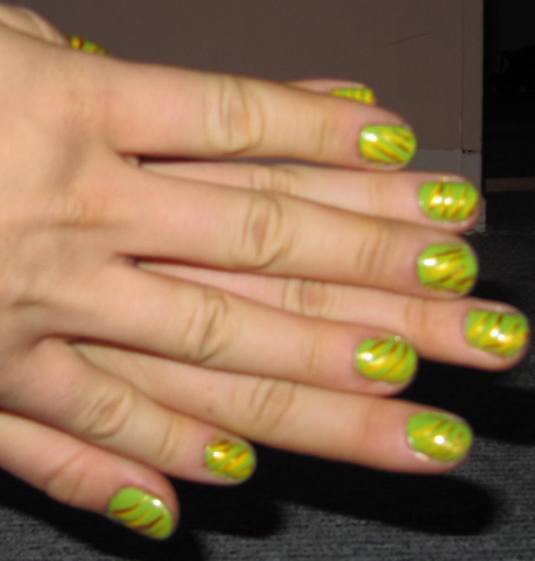
Mean Green!

This design is very simple and super-easy to do! It’s perfect if you’re just getting started with nail art and want to get a hang of your instruments.

All you need is a light green base color (I’m using Green With Envy by Sally Hansen), and a yellow and golden nail art striper. (And don’t forget your base and top coat!)

Once your base coat is dry, apply the green color to your nails.

Next, with the yellow striper, draw messy slightly diagonal lines on on your nails. We’re going for a “natural” look so the messier the lines–the better!

Once the yellow is dry, accentuate the lines with the gold nail art striper.

Now just add a top coat and ta-daaaa! You’re finished!

This design is great for when you’re on the go but still want something fun on your nails 🙂 Have fun with it! XOXO

Longwood Garden

Hello Daaaahlings! I’m officially back from the US, but I’ve got a few more posts from there 😉 During the last week of my trip, I went to Longwood Gardens, a large botanical garden with an amazing flower collection. In preparation for the trip, I created one of my favorite flower designs–water lilies. It’s a very feminine design and looks complicated, but it’s actually super-easy to create.

Take your favorite base color (I’m using Queen of West Web-erly by OPI) and three nail art stripers (I’m using white, sliver, and taupe-gold) and let’s begin 🙂

Apply a base coat to protect your nails and let it dry. Then, apply your base color.

Next, use the white (or another opaque color) striper to create the lily petals.

Then, take the shimmery color (silver) and draw thin straight rays between the petals. Take the third striper color (gold) and draw short lines inside the petals.

Wait until the design dries completely, then apply a top coat, and you’re done!

Here are more pictures of the design with the beautiful flowers from Longwood Gardens XOXO
Final US mini-haul

Ok, so I know I said no more hauls from the US, but then I found this Nail Supply store with crazy cheap OPI polishes and I got a few things. First off, my HOLY GRAIL product, which was like 4 times cheaper than it is here in Europe, Nail Envy by OPI!

I always use it as a base, and it has done wonders to my nails, really. So this should last me about a year 😉

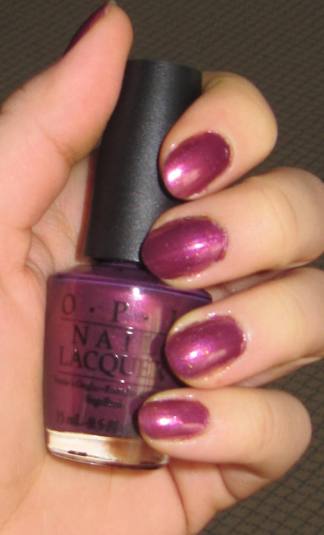
I also got these two fabulous colors: And This Little Piggy and Queen of the West Web-erly

And This Little Piggy is a gorgeous very shimmery light pink. It’s so sheer, it can almost be used as a shimmery top-coat for pink or red designs. The picture below is 4 or 5 coats of it.

Queen of the West Web-erly, on the other hand, is quite opaque. It’s a gorgeous warm-toned pearly mauve-pinkish color and I absolutely love it. Below is two coats on my nails.

OPI polishes are very good quality, and at the nail supply they were only 5 US dollars each (normal price: 14 Euros)  so well worth it 😉 XOXO

Hipster Cabbie

Last week I was in NYC celebrating the New Year! Yeah!

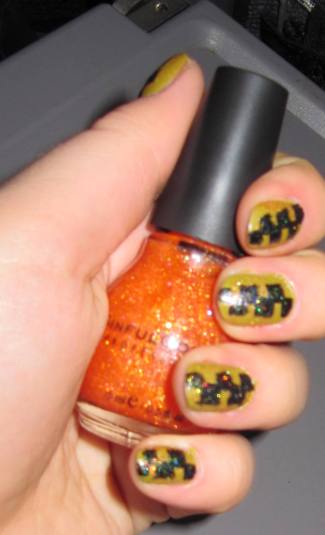
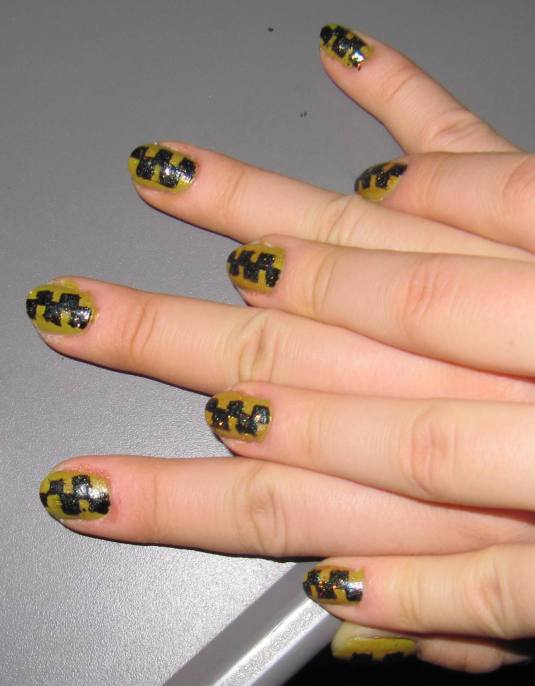
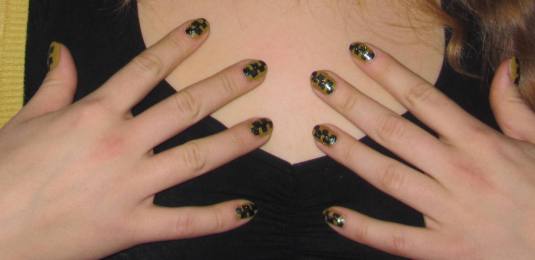
Naturally it’s the yellow cab capital of the world, and one of the most ‘hipster’ cities, so I was inspired to do a hipster cabby checkers theme on my nails.

To create this design, I used Mac Arthur Park by American Apparel, which apparently is THE hipster brand in the USA, as the base color, a black nail art striper for the design, and an orange glitter polish (834 UFO by Sinful Colors) for some extra hipster sparkle (cause sparkle is so un-hipster, it’s double hipster).

Oh, and I actually did my nails on the train from NY to DC, so don’t mind the rough edges 😉

Begin with the base color:

Now draw the checkered pattern. Begin with a single line down the middle of your nail:

Now draw several evenly-spaced lines perpendicular to the black line down the middle, covering about 1/3 of the width of the nail.

Now just close off and carefully fill in the squares.

Repeat on the rest of your nails.

Wait until the design is completely dry before applying the orange glitter coat. The glitter will hide any imperfections of your design 😉

If you’d like the design to last a bit longer, apply an additional top coat and you’re done! With this design you’ll flag down any New York cabbie in no time 😉 XOXO

US Haul!

So as you may know, I’m in the US right now. And yes, I went crazy. After watching all of the youtube videos and reviews about different brands not available in Europe, and then seeing them on the shelf of the local drugstore, I ended up spending a good portion of my Santa money (thanks, mama and papa!) on nailpolishes. Tee hee 🙂

I’ll start with Sinful Colors. Sinful, indeed. At $2 a bottle and OPI-like reviews they are an oh so tempting bargain for a nail junkie like me… So far I’ve only tried the orange glitter one (tutorial coming up!) and I’m loving it 😉

From left to right: 814 Forget Now, 804 Gorgeous, 834 UFO, 80 Dream On, and 871 Hottie.  Absolutely lovely, all of them!

Next is the lime bullet combo: My two Sally Hansen Extreme Wear polishes.

22 Gun Metal and 02 Green With Envy.

I’ve tried the Gun Metal one:

So far I’m loving it: the brush is wide making the varnish easier to apply, it dries quickly and is rather opaque: the top picture shows two coats.

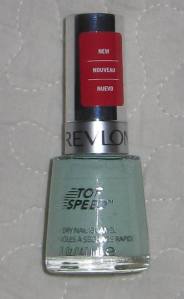
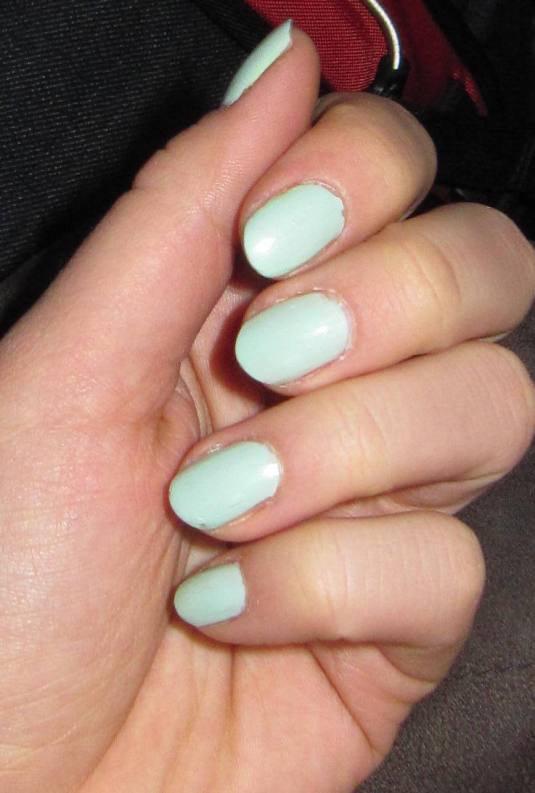
Next is the gorgeous ninty green color by Revlon called 320 Jaded:

I fell in love with it as soon as I saw it. It applies smoothly to the nails and needs just two coats for full opacity. It also lasts quite long, though it doesn’t dry particularly quickly, as it is advertised on the bottle.

I’d heard many good things about ELF products on youtube, so when I saw them at the dollar store in NY, I had to try them out too. I got three colors:

1518 Pearl, 1548 Hot Pink, and 1502 White. I’ll be doing a review on these later.

Next in line is the single Milani nailpolish I got:

I love love LOVE my greens, and this is a holographic green! Looks very flashy and beautiful on the nails. It’s in the color 511 Hi-Tech.

Next is a company I had never hear of before: Confetti.

The two colors I got were a sparkly forest green (097 My Favorite Martian) and a golden-rusty color (055 Dressed to the 9’s), both of which would be fantastic for a rich Autumn design.

At the American Apparel store in NYC I came across the most hipster nail color imaginable, and naturally I had to have it.

The color is a marvelous baby diarrhea-green, and it’s called Mac Arthur Park. I already made a design with it (coming soon!) and it’s absolutely fabulous on the nails! On top of that, it’s extremely opaque (1 coat!) and dries quickly. So this will definitely be one of my favorites.

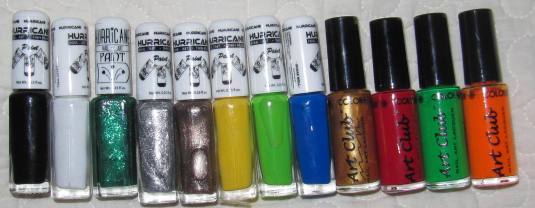
In NYC I also came across a beauty supply store (Eeeeek!) Though this may be common for those of you living in the US, for Europe it’s a rarity, so needless to say I was excited (yep, I am easily amused :p). Anyhow, at the beauty supply store I got  a whole range of nail art stripers! Yay!

Last but not least, drumroll….

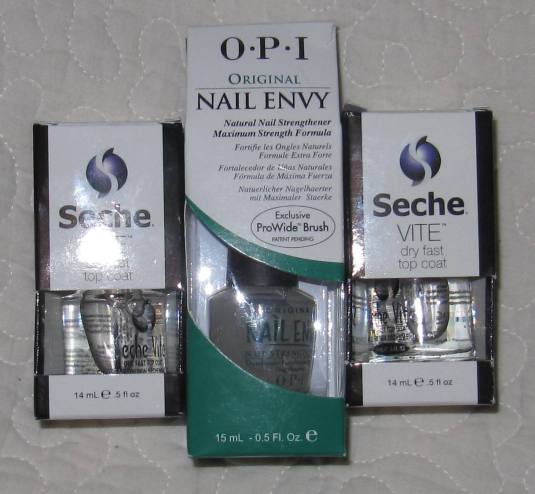
My Holy Grail product, Nail Envy by OPI!!! It’s way cheaper here in the US than it is in Europe, so naturally I had to get some. I also got the top coat everyone and their mom is raving about on youtube, the dry fast by Seche Vite!

Whew! No more nailpolish shopping for me until Europe :p XOXO

Happy New Year! My blog: 2010 in review

The stats helper monkeys at WordPress.com mulled over how this blog did in 2010, and here’s a high level summary of its overall blog health:

Healthy blog!

The Blog-Health-o-Meter™ reads Wow.

Crunchy numbers

Featured image

A Boeing 747-400 passenger jet can hold 416 passengers. This blog was viewed about 11,000 times in 2010. That’s about 26 full 747s.


In 2010, there were 53 new posts, not bad for the first year! There were 444 pictures uploaded, taking up a total of 184mb. That’s about a picture per day.

The busiest day of the year was November 30th with 227 views. The most popular post that day was Tutorial: Autumn leaves toenail design!.

Where did they come from?

The top referring sites in 2010 were blogger.com, en.wordpress.com, 74.125.67.100, facebook.com, and search.aol.com.

Some visitors came searching, mostly for cat in the hat, the cat in the hat, cat and the hat, dr seuss, and cat in the hat images.

Attractions in 2010

These are the posts and pages that got the most views in 2010.

1

Tutorial: Autumn leaves toenail design! September 2010
1 comment

2

Request: Dr. Seuss!! September 2010
6 comments

3

Review: Claire’s layered nailpolish September 2010
1 comment

4

Slytherin Pride! November 2010
1 Like on WordPress.com,

5

Tutorial: Pink Leopard October 2010
1 Like on WordPress.com,

Previous Older Entries Next Newer Entries