Quick Tip: How to prolong your nail design

I often get questions about how to prolong a nail design. The easiest way is to use a base coat before you apply your varnish and a top coat over it.

These steps may sound trivial, but they make a huge difference.

The base coat will not only help to protect your natural nails from the chemicals in the varnishes and staining, but will also help your nail varnishes “grip” to your nail and stay on longer. Many base coats also have formulations with vitamins and minerals to strengthen your natural nails and encourage nail growth.

The top coat will protect your nailpolish from chipping and give it a natural shine. Lots of top coats also have UV-protection. Re-applying a top coat every other day will prolong your design for up to a week.

But here’s the catch: not all bases and top coats are created equal. I find that you can always use inexpensive drugstore or no-brand nail varnishes, but it’s definitely worth it to invest in a good quality basecoat and top coat: with those two items, even the cheapest nailpolishes will last a week without chipping.

So, base and top coats I would recommend include:

Nail Envy and Top Coat by OPI, and Diamond Base and Diamond Top Coat by Inglot.

Bases/top coats I would definitely NOT recommend include:

Essence, Hema, or other drugstore/no-name brand bases or top coats. These just won’t give the same protection, shine, or longevity to your design as the top-end ones.

A base and top coat is something you will be using for every design, so it’s definitely worth the investment đŸ˜‰Â  XOXO

Prague haul!

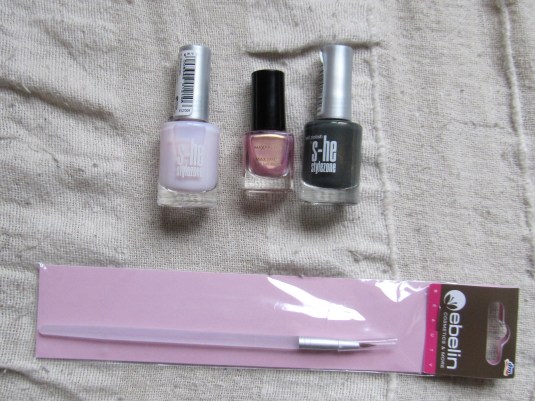
This past week I’ve been in Prague, and though I was quite busy and didn’t have time for shopping, I managed to pick up a few items at a local drugstore. I was hoping to get some brands that were not available where I live, but sadly only found one such brand (I guess European drugstores all carry the same products LOL) so without further ado, here is my haul đŸ™‚

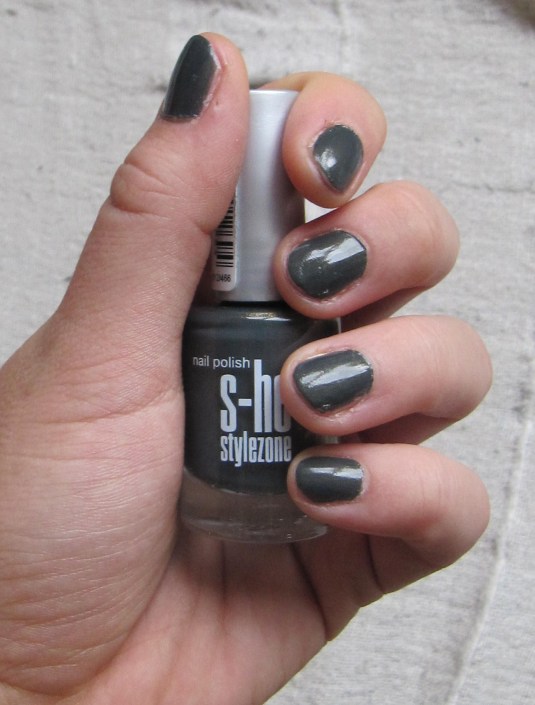
The only new brand that carried nailpolish was S-he stylezone, which by packaging and price is comparable to Essence. The first color I picked up was this dirty-grey with a muddy-golden undertone to it (nubmer 466). I absolutely loved the color but was not too impressed by the quality: the nailpolish was streaky and needed two coats for an even coverage, and took a while to dry.

The second color from this brand I picked up was this lovely sheer pale pink (number301).

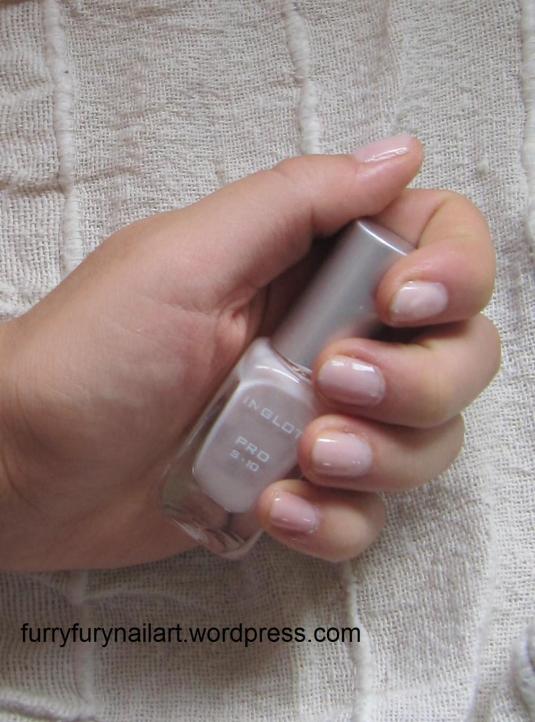
The camera doesn’t pick this up too well, but it has a subtle lilac undertone to it. I got it because I am nearly out of my favorite sheer pink Inglot pro-S10 that I use for the classic french tip design. Hopefully the cool undertone won’t make me look like I have zombie nails, LOL!

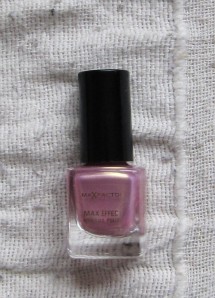
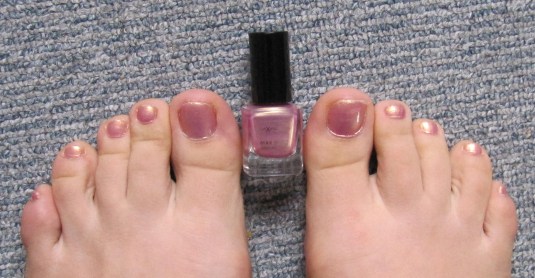
The last nailpolish I picked up was this Sunny Pink (05) by MaxFactor from the MaxEffect collection.

Though it’s supposed to be pink, the golden undertone makes it  look more peachy or even orange on the nails.

Finally, the last item I picked up was this thin eyeliner brush, which I of course intend to use as a nail art brush. The tip actually isn’t that thin, but we’ll see what designs I can create with it đŸ˜‰ XOXO

Classic French Tip

This week I’m at a conference in Prague, so I needed to have work-approporiate nails. The universally appropriate, feminine, and gorgeous design perfect for this is of course the classic french tip.

Learning the technique of the french tip is essential if you are into nail art, since it is such an easy way to create the classical sophisticated look, as well as many other fun designs. It is a nail art staple.

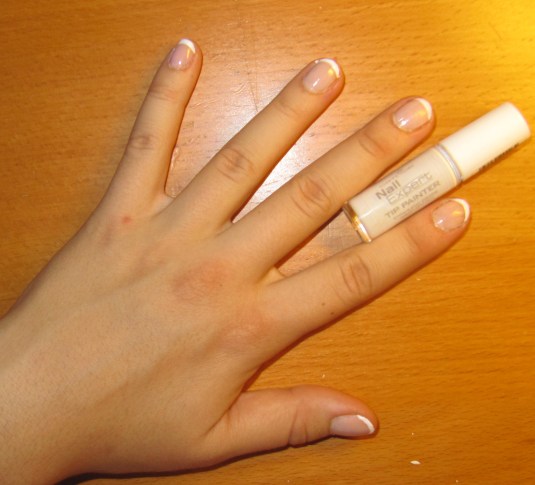
This is how i create a classic white french tip.

Firstly, I apply a base coat.

From this picture you might notice that since my nails are quite short, I don’t have a natural “white tip” on my nails. That is ok, we can be tricky and draw one anyway.

The next step is optional, but I like to apply two coats of a very sheer matt pinkish-cream color as the base. This will even out the color and surface of my nails.

The next step is to create the actual white tip. There are several ways to do this. One is to use white nail art brushes.

Most nail art brushes are quite thin and long, like this Inglot one:

Others are shorter and more stiff, like this Catrice one:

Personally I prefer using the shorter one since I find it gives me more control and therefore a more precise application.

To draw the white part, just wipe the excess polish from the brush on the edge of the tube, beginning in one corner, draw the line. It doesn’t have to be one fluid motion, you can always draw it in strokes and correct the line as you go along. Start at the very tip and work your way up–this way you will have more room for mistakes.

For drawing with your non-dominant (usually left) hand, hold the brush firmly with your non-dominant nand, and rotate the fingers on your dominant hand under the brush.

Another way of making a french tip is using special sticker strips for this.

These are available in all nail art sections at most drugstores. If you use them directly, they might adhere to your base coats and peel them off when removed. To avoid this, just stick and peel the stickers several times on the back of your hand first, to remove the excess glue.

Then, simly slide the sticker around on your nail until it fits the shape you want to achieve, and press it firmly onto the nail.

Now you can either use a tip-painter or a regular opaque white color to fill in the tip. Wait a few minutes until the polish is semi-dry, then carefully peel off the sticker.

Finally, finish off with several layers of top coat. This step is absolutely necessary for this particular design, as the white polishes are usually not formulated to last without a topcoat; they will likely start chipping off within several hours if you don’t apply it.

Enjoy your design XOXO